Book Appointment Now

Attach a Topper Without Traction Damage
How to Attach a Hair Topper With Clips: A Scalp-Safe, Real-World Guide
I’ll be blunt about how to attach a hair topper with clips: it succeeds or fails on two things — whether the clips land on hair that can actually carry weight, and whether you move them often enough to avoid a permanent thin patch. My verdict after years of trial, error and two expensive returns is simple. Backcomb the anchor zone, skip the front clip on fragile hairlines, and reset clip positions monthly. The rest is blending detail, and the same rules that govern all hair toppers for thinning hair apply here.
Table of Content
How Clip-In Topper Attachment Really Works
What the Clips Actually Grip
Every clip grabs a small bundle of your own strands within an inch of the root, so it is strand tension — not scalp adhesion — holding the piece down. That distinction matters more than most guides admit: grip depends on how much healthy hair sits under each jaw, not on how tightly the spring closes. Diffuse thinning gives a clip very little to bite.
Because the load spreads across four to six contact points, shifting one clip a centimetre changes the entire balance. A topper that creeps sideways usually has one under-loaded clip, not four failing ones. Test each jaw individually before you blame the base size, the cap construction or the brand you bought.
Which Clip Type Grips Best
Clip hardware varies far more than cap quality does. Silicone-sleeved pressure clips spread force across a wider band of hair, while bare metal snap clips concentrate it into a narrow line that leaves dents and pinch points. If your own hair is genuinely fragile, the clip type you choose matters more than the topper itself.
| Clip style | Grip pressure | Best suited to | What wearers consistently report |
|---|---|---|---|
| Bare metal snap clip | High, concentrated | Medium to thick density | Holds firmly but leaves dents and pulls on removal |
| Silicone-sleeved pressure clip | Moderate, spread wide | Fine or fragile hair | Sits flatter, far less pinpoint soreness |
| Rubber-tipped clip | Low to moderate | Very thin or sensitive scalp | Gentlest option, needs re-clamping after months |
| Wire comb or tension comb | Very low | Short wear, fragile hairlines | Secure for hours, unreliable for a full day |
Here is the rule I follow now: match clip pressure to the weakest patch under the base, not the strongest. If one temple area is thinner than the rest, that clip gets the silicone sleeve and the loosest jaw setting. Making that single adjustment ended the sore spots I used to accept as a normal cost of wearing a topper all day.
The Tension Map on Your Scalp
Think of your scalp as a tension map. The crown and mid-scalp tolerate load well because strands there are denser and more deeply rooted. The hairline, temples and any parting widened by years of styling tolerate almost none. Front clips placed directly on a receding hairline are the most common cause of clip-related breakage in wearer reports.
If your topper arrived with a front clip and your hairline is fragile, swap it for a wire comb or leave that jaw open and rely on the side clips instead. Coverage looks identical, because the front edge is blended with your own hair and a little coloured powder rather than gripped by metal. Many wearers describe this as the change that removes most daily discomfort.
Prepping Your Hair Before You Clip In
Backcombing Builds a Real Anchor
The most reliable grip trick is older than any topper brand: tease the hair where the clip actually lands. Backcomb a one-inch band, mist it lightly with hairspray, then wait two or three minutes until the spray dries tacky rather than wet. Clips bite into that textured cushion instead of sliding along smooth, conditioned strands.
Skip heavy conditioner at the roots on wash day. Silicone-laden products leave a film that makes even a freshly backcombed anchor slippery by mid-morning, and no clip tension compensates for that. A clean, slightly grippy root zone does more for hold than any styling spray, and it costs nothing at all.
Where to Sit the Topper
Placement decides whether the piece reads as hair or as hardware. Sitting a topper an inch or two too far back exposes the seam where its parting ends and yours begins — the exact complaint that sends most first-time wearers back to the returns desk. Move it forward until the front edge disappears, then deliberately offset the part. If yours runs slightly deeper than the topper’s, your own hair falls across the front edge and hides it.
Colour blending is a five-second job that most people overthink. Tap matte eyeshadow or tinted hair powder along the front seam to blur the density difference, then flatten the area with a blow-dryer while holding the parting down. Warm air plus pressure smooths the cap edge so it stops catching light differently from your own hair.
| Prep step | Why it matters | What done-right looks like |
|---|---|---|
| Wash roots, skip conditioner | Removes slip-inducing film | Hair feels slightly rough, not silky |
| Backcomb a one-inch band | Creates a cushion for the jaws | Visible texture directly under each clip |
| Mist and dry the teased area | Locks the texture in place | Hair feels tacky, not wet or stiff |
| Offset your natural part | Hides the front seam | Your hair overlaps the topper edge |
| Test each jaw on its own | Finds the under-loaded clip | No pinch, no red mark, no slip |
Rotate Clips to Protect Your Hair
Same-spot tension sustained for months is what actually damages hair, not clips in general. Traction thinning from a clip left in one position is uncommon but real, and it develops silently: the hair looks fine until a small patch stops growing back. Rotating clip positions every few weeks is the cheapest insurance available to anyone.
Rotation means two things. Move the topper a few millimetres forward or sideways each week so the jaws bite fresh strands. Then, if your cap allows it, unpick and re-sew a clip a centimetre away from its old spot every month or two. Taking the piece off for a few hours daily gives fragile areas a genuine rest.
Clips vs Tape, Glue and Grip Bands
Comparing Hold, Speed and Scalp Stress
Clips are the fastest and most reversible attachment method, which is exactly why they dominate for daily wear. Adhesives beat them on hold strength and on security in wind or under a helmet, but they demand solvents, clean-up and a tolerance for residue. Grip bands suit people whose hairlines cannot take any clip pressure at all.
| Method | Setup time | Hold strength | Scalp stress | Best for |
|---|---|---|---|---|
| Clips | 1-3 minutes | Moderate, 6-9 hours | Point pressure under each jaw | Daily wear, quick removal |
| Tape tabs | 3-5 minutes | Strong, full day | Adhesive on sensitive skin | Active days, no helmet |
| Liquid adhesive | 10-20 minutes | Very strong, multi-day | Removal tugging, residue | Long events, sport under headgear |
| Grip band or headband | Under 1 minute | Light to moderate | Almost none | Very fragile hairlines |
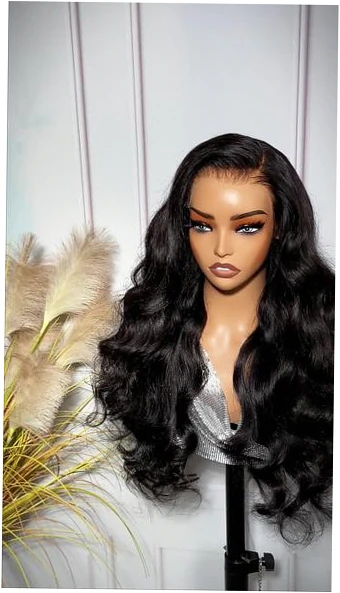
| Glueless lace wig | 5-10 minutes | Good, all day | Minimal at the hairline | Frontal loss needing full coverage |
There is no universally best method, only a best fit for your density, your scalp sensitivity and your week. Someone who trains daily and showers at lunchtime should not be gluing. Someone playing sport under a helmet all afternoon will find clips shifting before the innings ends, and that is a method mismatch rather than a product failure.
When a Glueless Lace Front Wins
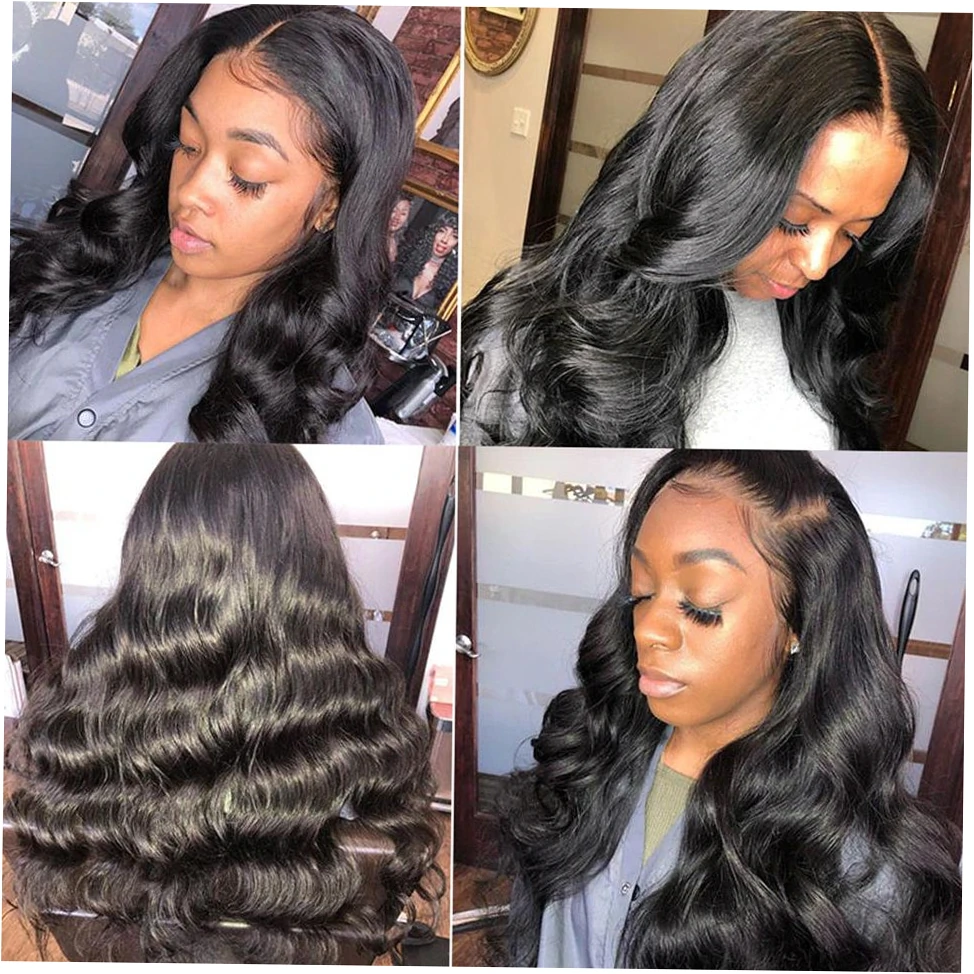
If your loss sits mainly at the front — a receding hairline or a widening part with healthy sides — a clip-in topper can only blend, never replace. A glueless frontal wig rebuilds the hairline itself, so there is no seam to disguise and no front clip pressing on fragile roots. That is a coverage decision, not a quality one.
For diffuse thinning spread evenly across the top and sides, clips remain the better everyday answer: lighter, faster to fit, and far easier to remove at night. The common mistake is buying a clip-in piece to solve a hairline problem it was never designed for. Match the construction to where you are genuinely thin and half your attachment troubles vanish.
Clip Mistakes That Quietly Cost You Hair
The Traction Risk Nobody Mentions
Clip tension is not free. Every jaw applies a small, constant pull to a few dozen strands, and hair that is already miniaturised tolerates that pull poorly. The damage profile is specific: a bald or broken patch sitting exactly under one clip, appearing after months rather than days, usually at the front or temple where density is lowest.
| Common claim | Official positioning | Real-world wearer experience |
|---|---|---|
| Clips are undetectable | Hidden under the cap and your hair | Strangers cannot see or feel them, but you will feel the jaws yourself |
| Holds all day | Secure from morning to night | Most report 6-9 reliable hours; heat, hats and helmets shorten it |
| Gentler than glue | No solvents, no residue | Gentler than daily adhesive removal, but same-spot tension still adds up over months |
| One base size fits all | Universal fit | A larger base spreads weight; a small base concentrates pressure on fewer strands |
| No skill required | Clip and go | Blending still takes practice: part offset, powder, backcombing |
The fix is mechanical, not cosmetic. Loosen the jaw a notch if it leaves a mark when you remove the piece, keep daily wear under eight or nine hours where you can, and never sleep in a clipped topper. Wearers who rotate positions and take rest days report far fewer problems than those who simply buy a gentler clip and change nothing else.
Fixing a Clip That Won’t Grip
A clip that slips is usually a worn jaw, a stretched spring, or a sharp edge catching and releasing. Before buying a replacement, pinch the jaw closed with pliers for a firmer hold and check whether the silicone sleeve has perished. Re-sewing is straightforward if you have a stout needle and something to push thread through mesh cleanly.
For that last part, a crochet latch hook handles cap mesh far better than a blunt needle, especially on a fine lace base where a needle can tear a hole. It also lets you reposition a clip without unpicking half the seam, which matters when you rotate clip positions monthly to protect fragile hair.
Slipping and Midday Shifting
Heat, hats and helmets are the three reliable saboteurs. Backcombing helps here too, but a small tin of tinted root powder in your bag doubles as an emergency fix: it adds friction at the anchor and hides any gap that opens when a clip releases. Most midday readjustments take ten seconds once you know where to press.
If the piece shifts every single afternoon, stop readjusting and re-engineer instead. That pattern usually means a small base concentrating weight on too few clips, or clips sitting on your thinnest hair rather than your healthiest. A larger base, or clips re-sewn over denser side hair, resolves it permanently rather than daily.
Making Clips Work on Fine, Fragile Hair
Signs You Should Change Method
Three signals mean stop adjusting and start reconsidering. Sore spots lasting more than an hour after removal, broken hairs wrapped around a clip when you take it out, and visible dents along the parting are all early warnings. None of them mean you have failed at toppers; they mean this attachment style asks more of your hair than it can give.
Alternatives do not have to be drastic. Swapping a front clip for a comb, adding a wide headband over the cap edge, or moving to a grip-band system all reduce point pressure while keeping the look. Many wearers run two systems — clips for short days, a band or a glueless piece for long ones — and find that compromise far more sustainable than forcing one method to do everything.
Living With Clips Day to Day
Realistic expectations make the difference. A clipped topper is a tool with a service window: eight to ten hours of reliable hold, a break at night, and a habit of checking the jaws before you leave the house. Judge it on that window rather than on a promise of all-day, all-weather security, and it performs very well.
Budget your attention rather than your money. Ten minutes of backcombing and blending on day one buys a week of confidence, while an expensive cap with badly placed clips will still slide. If you are still choosing a piece, settle the density and coverage questions first and treat the clips as hardware you can always upgrade later.
Clip-In Topper Questions, Answered Honestly
Do clip-in toppers damage your hair if you wear them daily?
Not inherently, but repetitive tension in one spot can. The risk is traction thinning under a clip that never moves, and it builds over months rather than days. Rotate positions, loosen any jaw that leaves a mark, take the piece off each evening, and the risk stays low for most people.
How tight should the clips on a topper be?
Tight enough to hold through head-turning, loose enough to leave no red mark after removal. If you feel a pinpoint sting when you close the jaw, it is too tight. Pinching a stretched jaw closed with pliers is fine; forcing a tight clip onto fragile hair is not.
Will people see the clips through thin hair?
Rarely. Clips sit under the cap and your own hair, and the visible giveaways are almost always the front seam and a density mismatch rather than hardware. Powder at the parting and a slightly offset part hide more than any change of clip design ever will.
Can I sleep, exercise or wear a helmet with a clip-in topper?
Exercise is fine for most people; helmets and hats shorten the reliable hold because they press the cap down and warm the scalp. Sleeping in clips is the one habit worth avoiding entirely, since overnight pressure is sustained for hours in exactly the same spot.
Why does my topper slide by the afternoon?
Usually one under-loaded clip, a smooth root zone, or clips placed on the thinnest hair instead of the healthiest. Backcomb and set the anchor, check each jaw, and consider re-sewing clips over denser side hair. A larger base spreads the same weight across more strands.
How many clips should a topper have for thinning hair?
Four to six is typical, and more clips is not automatically better — each one adds another pressure point. What matters is placement over hair that can carry load, plus the option to leave the front jaw open when your hairline is fragile.
Is a clip-in topper cheaper than gluing or a full wig?
Generally yes, both at purchase and in upkeep, since there are no adhesives, solvents or salon removal appointments. The trade-off is a shorter reliable wear window and more daily repositioning. Weigh the cost saving against how long you genuinely need the piece to stay put.