Book Appointment Now

Why Your Topper Part Won’t Blend Naturally
I wasted four months and roughly $180 chasing better toppers before I admitted the piece was never the problem. Learning how to blend a hair topper with natural hair is a technique problem, and it is fixable in your bathroom mirror with ten minutes and three cheap tools. My verdict up front: get density and color close, then spend all your remaining effort on the hairline, the part, and the length transition. If you are still shopping for a piece, start with these toppers for thinning hair before you obsess over blending tricks.
Table of Content
How Do You Blend a Topper Seamlessly?
Start at the Hairline, Not the Crown
Front-load your effort: the join at the front edge is where a piece announces itself, while the crown forgives almost anything. Move the topper back about a centimeter so your own hairline shows, then free a few baby hairs at the temples and comb them into the topper hair with a fine-tooth comb. That single move outperforms every styling product I have tried.
Women who have worn pieces for years keep repeating the same thing: you need very little natural hair to sell the illusion. Five or six forward strands blended with a spoolie brush and a light mist of water beat a full fringe of gel. What actually kills the illusion is a hard, perfectly straight part line, never thin bio hair.
Match Density, Color, and Texture First
Fix the mismatch before you fix the blend: density is the loudest tell. If your own hair is fine and the topper is medium-heavy, the front sits like a helmet. Ask a stylist to thin the front by 10 to 20 percent with thinning shears, or buy a lower-density piece from the start. Match your front, not your ends.
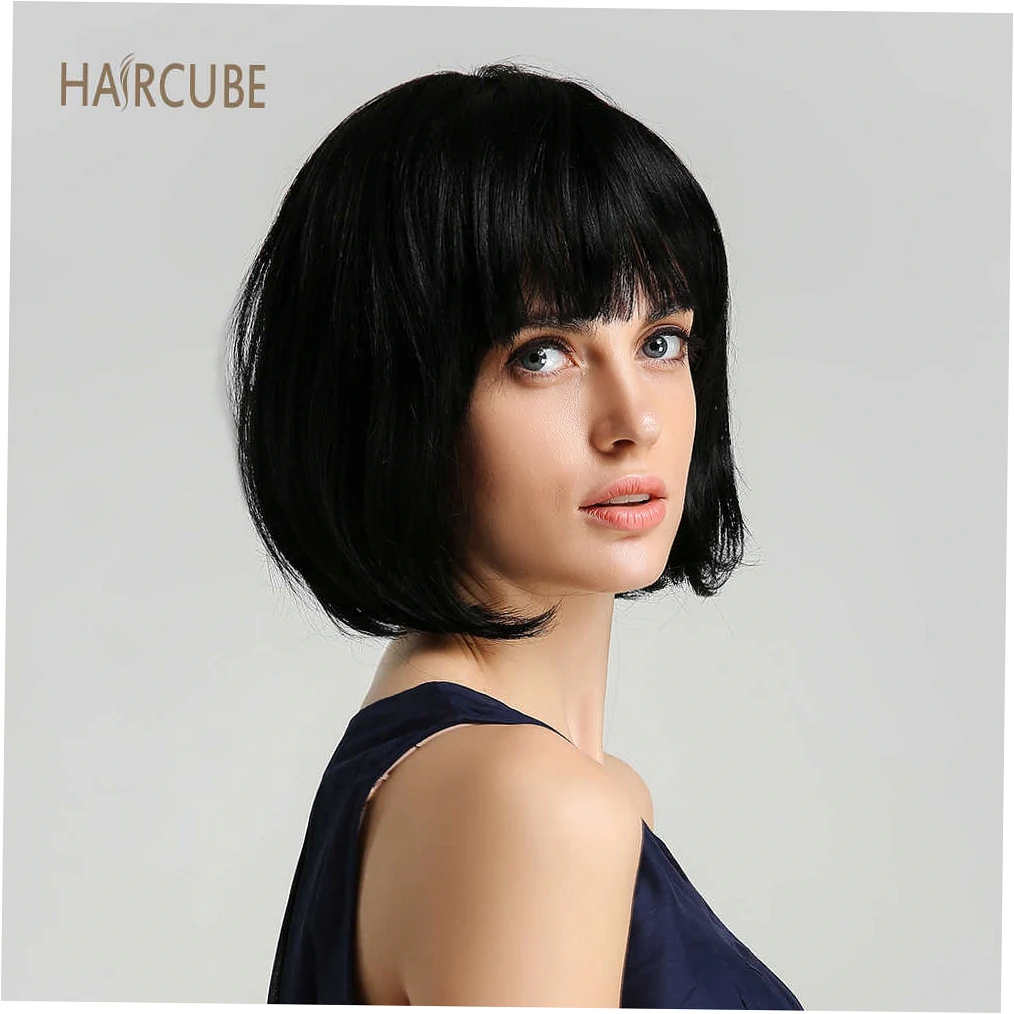
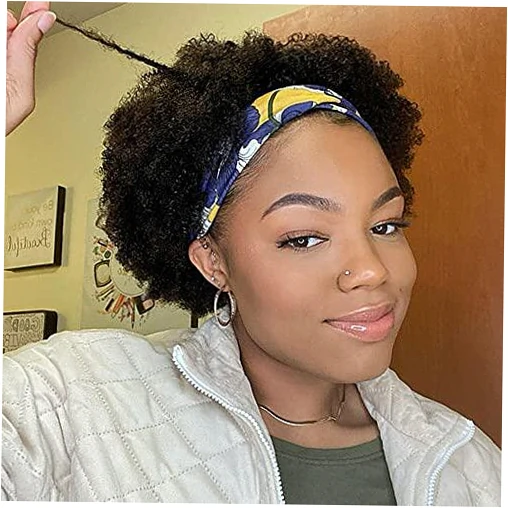
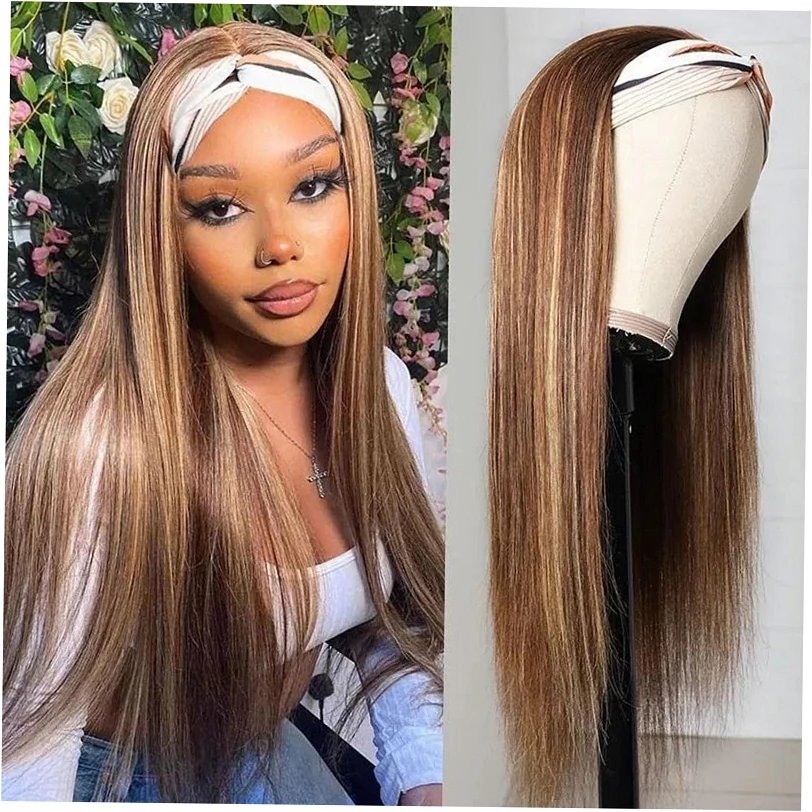
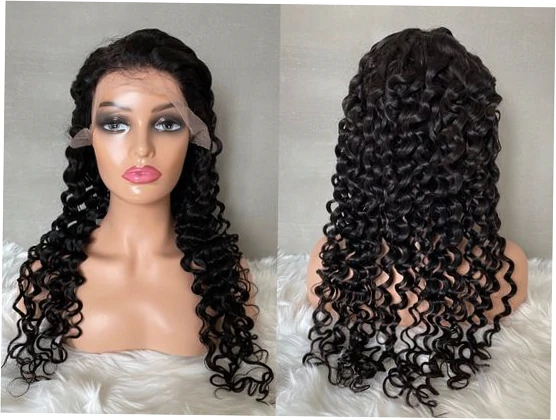
Texture comes next, and it is the step people skip. Straight, sleek bio hair fights a wavy piece at the join, so a smooth texture, closer to straight hair wig styles than to loose curls, blends with far less daily work. If your own hair is genuinely curly, match the curl pattern instead and never flat-iron only the join area.
Which Base Blends Best With Bio Hair?
The base is the fabric your hair sits on, and it quietly decides how much of your own hair you need at the front. I have worn silk, mono, and closed lace, and the difference is not cosmetic. It changes how flat the front lies, how much scalp you can cover, and how often you will be tempted to reach for powder.
| Base type | Natural hair needed at front | Blend difficulty | Best for |
|---|---|---|---|
| Closed lace | Very little, a few strands | Low | Diffuse thinning, first-time wearers |
| Monofilament top | Moderate | Medium | Realistic parts, knotted hair hidden |
| Silk top | More hair and more coverage | High until it is thinned | Dense, styled looks away from a fragile hairline |
| Lace front with mono top | Little at the edge, more behind | Medium | Visible hairline days, photos, events |
Closed lace wins for most people with diffuse thinning: one layer, a flat front, and minimal hair needed to hide the edge. Silk feels luxurious but its two layers add bulk, which is exactly why so many wearers describe it as floppy at the hairline until it is professionally thinned. Mono sits between the two and hides knots well.
What Wearers Actually Report
Marketing and lived experience diverge most on silk tops and density. Below is the gap I have seen over and over, translated into something you can actually act on before you spend money.
| Claim | What wearers report | What I would do |
|---|---|---|
| Human hair always looks most natural | Brand-new pieces look too polished and shiny next to bio hair; texture mismatch is the real tell | Wash and dry-shampoo the piece before the first wear |
| Silk top gives the most realistic part | Two layers add bulk, the front flops, and it needs more hair to hide | Thin the front or switch to closed lace |
| Higher density means better value | Density that outpaces your own hair is the fastest way to look wiggy | Buy low density at the front edge |
| You cannot blend without a large base | Wider bases sit flatter and spread weight, but cover more scalp | Match base size to the thinning area only |
| Cheap toppers never look real | A budget piece with the right base and a good cut can pass easily | Spend on the cut, not the price tag |
The pattern is clear once you lay it out: base construction and front density matter more than price or hair type. A budget piece with the right base and a proper cut beats a luxury piece that is too dense at the front. That is a genuinely useful finding if you are shopping on a tight budget.
Why Does My Topper Part Look Wiggy?
Break the Perfect Part
Perfection reads as fake: a razor-straight, dense part looks like a drawn line, not a scalp. Wet the part area, blow-dry it slightly off-center, and let a few strands fall across it. A messier side part is far more forgiving because it hides the seam where the topper meets your own hair.
If your piece has a hard center part baked in, you can shift it with low heat on human hair pieces, and pluck two or three hairs per centimeter along the part with tweezers. Go slowly. Over-plucking is permanent, and a bald part looks stranger than a dense one ever will.
Kill the Shine and Fill the Gaps
New toppers are too shiny: factory hair carries a coating that catches light your scalp never would. Dust brown dry shampoo through the mid-lengths, then brush it out. It removes the plastic gleam, adds grip, and stops the front edge from sliding around during the day.
For scalp show-through at the join, matte products beat wet sprays every time. A brown root powder or hair fiber powder tapped into the part with a small brush fills the gap between your hairline and the topper edge, and the whole thing takes about twenty seconds in the morning.
| Product | Best for | Color-match difficulty | Risk |
|---|---|---|---|
| Root-touch powder | Part lines and scalp gaps | Low, buildable | Transfers to collars; needs regular washing out |
| Hair fibers | Wider thinning patches | Medium | Buildup on scalp; looks dusty in bright light |
| Matte eyeshadow | Small gaps right at the hairline | Low | Fades fast; patch-test sensitive skin |
| Brown dry shampoo | Removing shine, adding grip | Low | Can lighten dark hair if overused |
| Tinted scalp spray | Fast coverage on event days | Medium | Overspray lands on the piece; shield the base |
| Demi-permanent dye | Long-term color matching | High | Fades in 15 to 20 washes; never use on synthetic |
Blending Mistakes That Make Toppers Obvious
Cutting and Thinning Gone Wrong
Two mistakes account for most it looks like a wig photos I have seen: too much density left at the front, and a blunt cut that stops at one single length. Toppers need layered, textured ends that fall into your own hair, not a shelf of hair sitting on top of it. Trim in small increments and stop early.
Never thin the lace or silk edge itself, only the hair. Cutting into the base unravels knots and leaves a sparse, patchy front you cannot repair. If you are not confident with shears, book a stylist who works with alternative hair; one good cut costs less than replacing a ruined piece.
Clip Placement and Tension Problems
Where the clips sit changes how flat the front lies: clips too far forward pull the edge up, clips too far back let the front lift whenever you turn your head. Press the piece down, check the front in a hand mirror, then clip from back to front so the tension stays even.
Be honest about tension on fragile hair. Getting clip-in topper attachment right takes two or three tries, and repeated pulling on thinning roots is a real risk if you wear a piece daily. Rotating clip positions and using a grip band on hard days reduces the load considerably.
Which Blend Fix Should You Try First?
The Ten-Minute Morning Reset
Here is my order of operations when someone has ten minutes: reset the placement first by moving it back a centimeter and parting off-center, blend the hairline with a spoolie and water, kill shine with dry shampoo, fill scalp gaps with powder, and only then touch the length with a light serum.
If the front still looks obvious after those five moves, the problem is the piece rather than the technique. Density too high, base too bulky, or a color two shades off will never be rescued by another product. That is the moment to change something structural instead of buying more bottles.
When to Pay a Specialist
A good alternative-hair stylist does three things that are genuinely hard to do at home: root shadowing to match your regrowth, thinning the front to your own density, and a balanced cut that integrates the piece with your layers. In my area that runs $60 to $150, and it is the highest-value money in this whole process.
Ask specifically whether they cut toppers rather than only wigs, and bring the piece on your head. Expect trial and error. Most wearers go through two or three pieces before they find the base and density that suit their thinning pattern, and results vary with hair type, shedding, and how much heat styling you do.
Before you buy anything else, put your current topper on and check three things in daylight: does your natural hairline show, do a few of your own strands cross the join, and is the shine gone. Fix those three and you will stop noticing the piece by mid-morning. Anything you cannot verify in daylight, treat as a guess rather than a fact.
Blending Questions I Hear Most Often
Can I blend a topper if my natural hair is very thin at the front?
Yes, and thin front hair is usually a base problem rather than a dead end. A closed lace or mono base with low front density needs only a few strands to hide the edge. Hair fibers, tinted powder, and bangs are legitimate shortcuts. If you shed heavily or your scalp is irritated, speak to a dermatologist before adding tension from clips.
Is lace or silk easier to blend for a beginner?
Closed lace is the easier start by a wide margin. It is one layer, lies flat, and asks very little of your own hair. Silk tops look beautiful on camera but their double layer is bulkier, flops at the front, and needs more bio hair plus professional thinning to look right. Beginners almost always have an easier first month in lace.
Do I have to dye my hair to match the topper?
Not always. A demi-permanent color on your own hair is the gentler route: it fades over roughly 15 to 20 washes, so a slightly warm match softens instead of hardening. On human hair pieces you can tint the topper too, though knots and base material may absorb color unevenly. Never dye a synthetic piece; adjust your own hair instead.
Can root powder or hair fibers damage my scalp or the topper?
Used lightly and washed out regularly, they are generally fine. Problems come from daily buildup, sleeping in product, and spraying near the knots, where conditioner and oils loosen the hand-tied hair over time. Patch-test anything new on your inner arm, and follow the manufacturer’s washing guidance rather than guessing.
How much does professional blending cost, and is it worth it?
Expect roughly $60 to $150 for a proper cut, thinning, and root shadowing, depending on your city. It is worth it when the base and density already suit you, because you are refining a good piece. It is wasted money on a piece that is two shades off or far too dense at the front, and no cut fixes that.
Do bangs make blending a topper easier?
Bangs are the fastest way to skip the hairline problem entirely, which is why so many first-time wearers choose them. The catch is your own front hair, which can peek through and look bulky. Keep it pinned flat or swept to one side under the fringe, and the blend becomes almost maintenance-free.
How long does a blended style actually last each day?
With clips and a decent grip band, most people get a full workday, roughly eight to twelve hours, before the front needs attention. Humidity, windy commutes, and heavy styling products shorten that window. Carrying a mini spoolie and a small root powder compact solves ninety percent of mid-day lift and shine issues.